Posts

Showing posts from May, 2021

Why Censorship and Regularization of the OTT Platforms?

Image
The recent news was flooded by why the Censorship and Regularization of the OTT Platforms are required? In this article, we will resolve your query about the same and explain to you everything related to the censorship and regularization of the OTT Platforms . It is much needed to understand why there began the need to introduce the censorship and regularization of the OTT Platforms. No Governing Body for OTT Platforms In the year 2019, the government came up with the news of restricting the OTT Platforms for their content with some rules and guidelines. This must be known that there are laws to protect other platforms such as for the TV programming there are Cable Television Network rules, 1994. For films, there is Cinematograph Act, 1952, and such others. But there is no governing body created for OTT Platforms. Self-Regulatory Code of OTT Platforms On 15th September 2020, 15 different OTT Platforms like Netflix, Zee5, Amazon prime, ALTBalaji, etc. came up with a self-regulatory cod

Top Instagram Influencers of India in 2021

Image
Influencers, by definition, are users, who have an established credibility and audience. They are those who can persuade others by virtue of their trustworthiness and authenticity.  While the definition does not justify the versatility of what they do, they have created a new realm of modern day amenities that tend to inspire and influence the upcoming generation setting new trends as well as fight and protest for global rights and equality to influence others to rise and speak up. Influencer marketing has been on the rise over the last few years, and shows no signs of slowing down in India. Instagram influencers play a crucial role in online marketing and have raised the economy drastically by promoting and advertising products. Instagram influencers are of various types, incorporating fashion influencers, travel influencers, food influencers and health and fitness influencers among others. Among such famed influencers have risen a few who have done exceedingly well in influencing cit

STEPS TO MERGE CELLS IN GOOGLE SHEETS

Image
1. MERGE ALL Regardless of the direction, the Merge all option enables you to merge a whole bunch of cells, as long as you highlight them all. One big merged entity will be the resulting cell.  You would notice that this option will be invalid if you select a random bunch of cells which are not next to one another.  2. MERGE HORIZONTALLY When you want to select cells in rows from more than one column, the Merge horizontally option is useful and have them merge into rows of cells. Long horizontal cells will be the result in which the previously selected cells are merged from each column. The Merge all would also do the same thing in case you have only selected the cells in one row. It is quite a useful shortcut. 3. MERGE VERTICALLY The Merge vertically option, similar to the previous one, enables you to select cells in columns from more than one row and mix and merge cells into columns of cells. As a result, to form single long vertical columns, the cells in the selected columns are

3 EASY TIPS ON DELETING A PAGE IN GOOGLE DOCS

Image
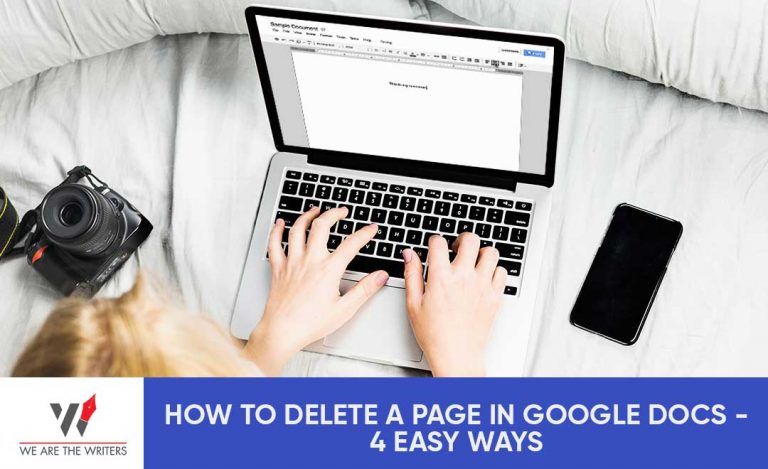
Tip-1  Here we'll talk about how to delete a page in Google docs and the simplest and the easiest way is to just get rid of the excess content. You might have an entire page full of unnecessary texts. Lengthy and unwanted content can hide the objective of your document and the reader may find it confusing to go through the paragraphs. Whatever parts  you want to take out, select them. To highlight those parts, click and drag the cursor whether it is text, image or any type of graph. On your keyboard, press the Backspace or the Delete key. The pages will automatically get deleted along with that chosen content, if the selected content is enough to fill a page or two.  The contents which are from different parts of the document, this would apply there as well. The omission would still contribute to a decrease in the page count if the paragraphs you wish to delete belong to different pages. In the highlights, do not forget to include empty line breaks. Even without containing any tex

How to ADD AUDIO TO GOOGLE SLIDES – Local Audio Files

Image
It is important that you upload it to your Google Drive first, if your audio file is located in your computer locally. You can continue on to the next steps after uploading, on how to add audio to google Slides . ADD AUDIO TO GOOGLE SLIDES On google Slides, open your presentation. Where you want to insert the audio, select the slide. Click on Insert after going to the Menu bar. Select Audio after scrolling down. Then, a window will appear which will display all the uploaded files on your Drive . Click Select after finding your required file. On your slide, a speaker icon will appear and just click on that icon to play the audio.  Now, your audio is finally added to your Google Slides offline. Music streaming services. From a streaming service, to insert a sound file link, do follow the steps given below: In a browser window, open the streaming service of your choice and go to that page containing the audio that you want to use. Through the Share option, copy the URL link, w

STEPS TO INSERT A TEXTBOX IN GOOGLE DOCS

Image
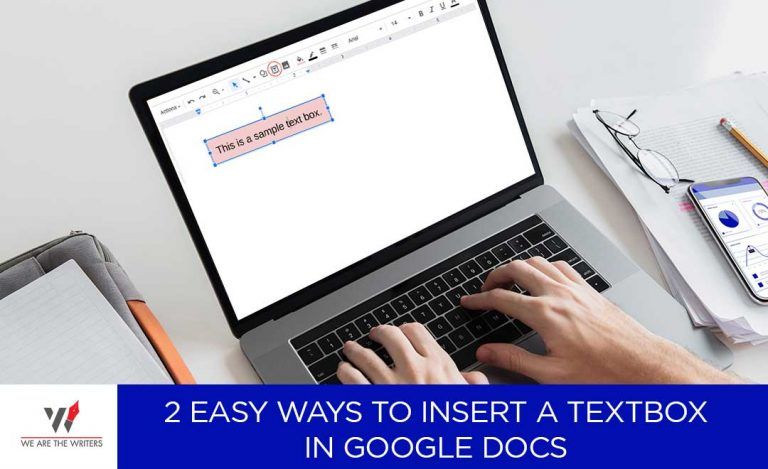
Two simple ways are there to insert a textbox in Google Docs. Through both the ways, you  can add text within a document that is set apart from the other text. Their formatting and layout capabilities are quite distinct from one another. Let us now check the methods on how to insert a textbox in Google Docs . Step-1  Over text appearance, if you want easy manipulation and control, then usage of the Drawing Tool can be the best way to insert a textbox in Google docs . It’s an easy procedure and only asks you to insert a drawing from your Google Drive in your document in order to place the text within the drawing. A person can easily create, edit and format the shapes of the textbox in their document.  You have to open a particular document in Google Docs. Then, on the top left bar, click on  Insert.  On the drop down menu, select drawing and then create a textbox by clicking on New. Click on the Text box icon and inside a square box, it can be identified by the letter “T”  Create the te